Windows 11: How to Use the New Windows Spotlight Features
Unlock Stunning Visuals: Mastering Windows 11 Spotlight Features
Hey there, Windows enthusiasts! Ever boot up your computer and get greeted by a breathtaking landscape or a captivating cityscape? Chances are, you've stumbled upon Windows Spotlight, a feature that's like a free, ever-changing art gallery right on your lock screen. Now, I know what some of you might be thinking: "Yeah, yeah, pretty pictures. What's the big deal?" But trust me, there's more to Spotlight than meets the eye. It's not just a screensaver; it's a gateway to discovering new places, learning interesting facts, and even customizing your Windows experience.
Think about it: How many times have you mindlessly scrolled through your phone, only to stop dead in your tracks at a stunning photo? Spotlight is like that, but on a bigger screen and with less doomscrolling. It's a little moment of zen in your otherwise chaotic digital life. But here's the thing: Are you truly leveraging its full potential? Are you just passively enjoying the pretty pictures, or are you actively engaging with the features it offers? Because, my friends, if you're not, you're missing out.
We’ve all been there. That initial excitement of seeing a cool image, followed by the nagging question, "Where is that place?" or "What is that thing?" And then, the frustration of not knowing how to find out. Maybe you even tried right-clicking, desperately hoping for a "Learn More" option, only to be met with disappointment. It’s like being shown a delicious cake but not being given a fork!
The good news is that Windows 11 has upped its Spotlight game. There are new features, hidden tricks, and customization options that can transform your lock screen from a static display into an interactive experience. We're talking about learning about the location of each image, quickly accessing related content, and even providing feedback to fine-tune the images you see.
But let's be honest, navigating these features can be a bit… confusing. Microsoft isn't exactly known for its crystal-clear tutorials, are they? It's like they expect us to be mind readers or something. That’s where we come in.
In this article, we’re going to dive deep into the world of Windows 11 Spotlight. We’ll uncover hidden gems, demystify confusing settings, and show you how to customize Spotlight to perfectly match your interests and preferences. Whether you're a seasoned Windows veteran or a curious newcomer, we've got something for you.
Ready to unlock the full potential of your Windows 11 lock screen? Ready to transform it from a passive display into an interactive experience? Then buckle up, because we're about to embark on a Spotlight adventure! Let's get started, shall we? What if I told you that Spotlight could be your secret weapon for discovering your next travel destination? Intrigued? Keep reading!
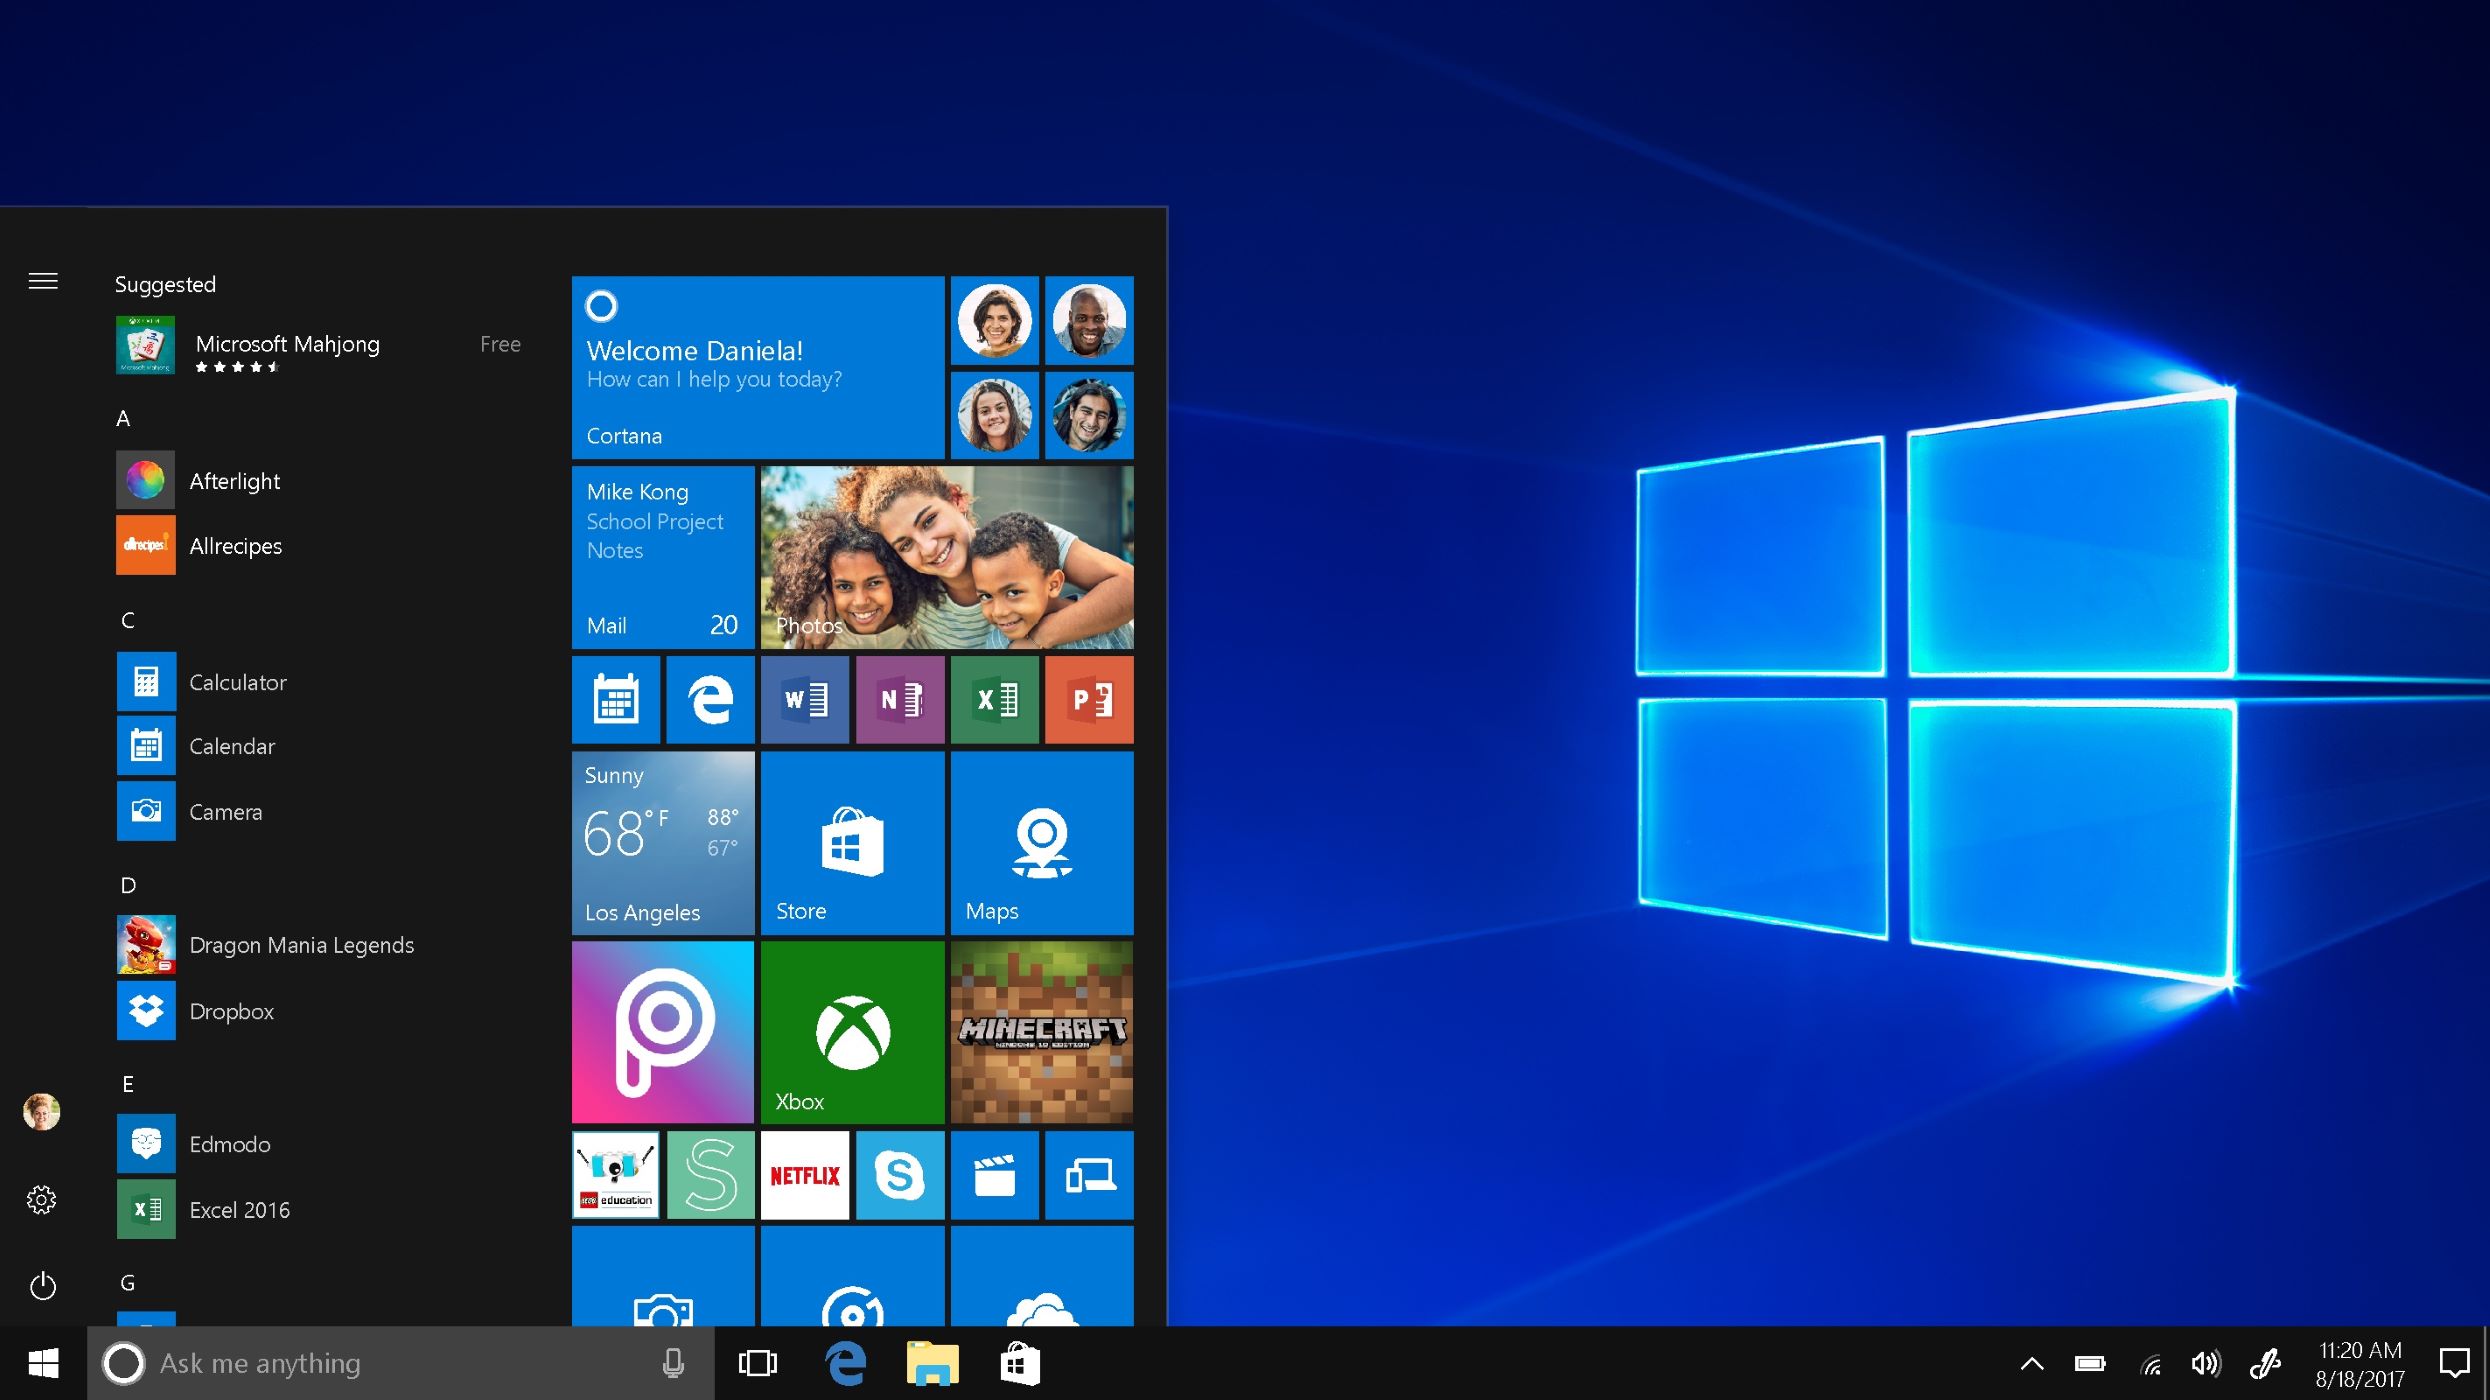
Unlocking the Power of Windows 11 Spotlight
Windows Spotlight is more than just pretty pictures; it’s a dynamic feature designed to enhance your Windows 11 experience. Let’s break down how to use it to its fullest potential.
• Enabling and Configuring Windows Spotlight
First things first, let’s make sure Spotlight is actually turned on! This might seem obvious, but sometimes the simplest things are the easiest to overlook. To enable Windows Spotlight, follow these steps:
Go to your Windows 11 settings. You can do this by pressing the Windows key + I.
Click on Personalization.This is where you'll find all the settings related to customizing your Windows look and feel.
Select "Lock screen." Here, you'll find the settings that control what you see when your computer is locked.
In the "Personalize your lock screen" dropdown menu, choose "Windows spotlight." If it’s already selected, pat yourself on the back – you’re one step ahead!
Now, for the configuration part. Below the dropdown menu, you'll find a few other options. Make sure the "Show facts, fun, tips, tricks, and more on your lock screen" toggle is turned on if you want to see those little nuggets of information along with the images. It adds a bit of context and can be surprisingly interesting.
• Navigating and Interacting with Spotlight Images
Okay, Spotlight is enabled, and you're seeing those gorgeous images. Now what? Well, you can actually interact with them!
When you see a Spotlight image you like, look for the "Like what you see?" option in the top-right corner of the lock screen. It usually appears after you've unlocked your computer.
Clicking on "Like what you see?" gives you two options: "I want more like this" or "I'm not a fan." This is your way of telling Windows what kind of images you prefer. The more feedback you give, the better Spotlight becomes at showing you images you'll actually enjoy. It's like training your own personal art curator!
Sometimes, you'll see a little icon on the image. This is an invitation to learn more about the location or subject of the photo. Clicking on it will usually open a Bing search with relevant information. It's a great way to discover new places and learn interesting facts.
• Customizing Spotlight with Your Own Images
While the default Spotlight images are great, sometimes you want to mix things up with your own photos. Windows 11 allows you to easily switch between Spotlight and your own custom slideshow.
Go back to the "Lock screen" settings (Windows key + I, Personalization, Lock screen).
In the "Personalize your lock screen" dropdown menu, choose Slideshow.
Click the "Add a folder" button and select the folder containing the images you want to use.
You can customize the slideshow further by choosing how often the images change and whether to include pictures from your One Drive folders. This is a fantastic way to showcase your travel photos, family snapshots, or even your favorite digital art.
• Troubleshooting Common Spotlight Issues
Sometimes, things don't go according to plan. Spotlight might stop working, show the same image repeatedly, or display an error message. Here are some common troubleshooting steps:
Restart your computer. This is the golden rule of troubleshooting. Sometimes a simple restart can fix a multitude of issues.
Check your internet connection. Spotlight relies on the internet to download new images. Make sure you're connected to a stable network.
Reset Spotlight. If the above steps don't work, you can try resetting Spotlight. This involves deleting the Spotlight cache folder and re-enabling the feature. Here’s how:
Press Windows key + R to open the Run dialog box.
Type "%USERPROFILE%/App Data\Local\Packages\Microsoft.Windows.Content Delivery Manager_cw5n1h2txyewy\Local State\Assets" and press Enter.
Delete all the files in this folder. Don't worry, these are just cached images.
Go back to the "Lock screen" settings and switch to a different option (like "Picture" or "Slideshow") and then back to "Windows spotlight." This will force Windows to rebuild the Spotlight cache.
• Advanced Tips and Tricks for Power Users
Want to take your Spotlight game to the next level? Here are some advanced tips and tricks:
Use dynamic themes. Combine Spotlight with dynamic themes to automatically change your desktop background to match the Spotlight image. You can find dynamic themes in the Microsoft Store.
Create custom Spotlight folders. Curate your own collection of high-quality images and use them in a custom slideshow. This gives you even more control over the visuals you see.
Explore third-party Spotlight apps. There are several apps available in the Microsoft Store that enhance the Spotlight experience. Some apps allow you to download Spotlight images, while others provide additional information and customization options.
• Understanding Spotlight's Privacy Implications
It's important to be aware of the privacy implications of using Windows Spotlight. Microsoft collects data about which images you like and dislike in order to personalize your experience. If you're concerned about privacy, you can disable this feature.
Go to Settings > Privacy > Diagnostics & feedback.
Under "Diagnostic data," choose "Required diagnostic data" instead of "Optional diagnostic data." This will limit the amount of data Microsoft collects about your usage.
By following these steps, you can unlock the full potential of Windows 11 Spotlight and transform your lock screen into a dynamic and engaging experience. So go ahead, experiment with the settings, explore new images, and discover the hidden gems that Spotlight has to offer. You might just be surprised at what you find!
Spotlight on Productivity: Making the Most of Your Lock Screen
Let’s face it: we spend a lot of time looking at our lock screens. Why not make that time more productive? Windows 11 lets you leverage Spotlight to enhance your workflow and stay informed. Here’s how:
• Enabling Lock Screen Notifications
Your lock screen doesn’t have to be just a pretty picture. You can enable notifications to stay updated on important information without even unlocking your computer.
Go to Settings > System > Notifications.
Scroll down to the "Lock screen" section and make sure the "Show notifications on the lock screen" toggle is turned on.
You can also choose which apps are allowed to show notifications on the lock screen. This is a great way to prioritize the information that’s most important to you.
• Using Quick Status Apps
Quick status apps provide a brief overview of key information, such as the weather, calendar events, or email notifications.
In the "Lock screen" settings (Settings > Personalization > Lock screen), look for the "Choose an app to show detailed status" and "Choose apps to show quick status" options.
Select the apps you want to display information on your lock screen. For example, you could choose the Weather app to see the current temperature and forecast, or the Calendar app to see your upcoming appointments.
• Integrating Cortana (If Available)
While Cortana's role has evolved in Windows 11, it can still be integrated with the lock screen to provide voice-activated assistance.
Go to Settings > Privacy > Voice activation.
Make sure the "Let apps access your microphone" and "Voice activation" toggles are turned on.
You may also need to configure Cortana-specific settings to allow it to respond to your voice commands from the lock screen. This can vary depending on your Windows 11 version and Cortana configuration.
• Leveraging Dynamic Lock
Dynamic Lock automatically locks your computer when you step away from it, adding an extra layer of security.
Go to Settings > Accounts > Sign-in options.
In the "Dynamic lock" section, check the "Allow Windows to automatically lock your device when you're away" box.
You'll need to pair your phone with your computer via Bluetooth for Dynamic Lock to work. This is a convenient way to ensure that your computer is always locked when you're not around.
• Creating a Personalized Lock Screen Message
You can display a custom message on your lock screen, such as your contact information or a reminder.
Go to Settings > Personalization > Lock screen.
In the "Lock screen status" section, choose "Custom text" and enter your message.
This is a useful way to display your contact information in case your computer is lost or stolen.
By implementing these strategies, you can transform your Windows 11 lock screen into a productivity hub, keeping you informed and efficient throughout your day. It's all about making the most of those often-overlooked moments!
Beyond the Basics: Advanced Customization and Troubleshooting
Alright, friends, let’s get into the nitty-gritty. We’ve covered the basics of Windows 11 Spotlight, but now it’s time to delve into some advanced customization options and troubleshooting techniques that can really elevate your experience.
• Modifying the Spotlight Cache Location
By default, Windows Spotlight stores its images in a specific location on your hard drive. However, you can modify this location to a different drive or folder, which can be useful if you’re running low on space or want to organize your files differently.
Open the Registry Editor (type "regedit" in the search bar). Be extremely careful when editing the registry, as incorrect changes can cause system instability.
Navigate to the following key: "HKEY_LOCAL_MACHINE\SOFTWARE\Microsoft\Windows\Current Version\Authentication\Creative\Locally Used Files"
You’ll see a list of entries representing the Spotlight images. You can modify the "Path" value for each entry to point to a different location.
Restart your computer for the changes to take effect.
• Disabling Spotlight Suggestions
While Spotlight suggestions can be helpful for discovering new apps and features, some users find them intrusive. You can disable these suggestions without disabling Spotlight itself.
Go to Settings > Personalization > Lock screen.
Turn off the "Get fun facts, tips, tricks, and more on your lock screen" toggle.
This will prevent Spotlight from displaying suggestions, while still allowing it to show the rotating images.
• Fixing Spotlight Not Working After Update
Sometimes, Windows updates can cause Spotlight to stop working correctly. If you encounter this issue, try the following steps:
Run the System File Checker (SFC) tool. Open the Command Prompt as an administrator and type "sfc /scannow". This will scan your system files for errors and attempt to repair them.
Re-register the Spotlight app. Open Power Shell as an administrator and run the following command: "Get-App XPackage -All Users -Name Microsoft.Windows.Content Delivery Manager | Foreach {Add-Appx Package -Disable Development Mode -Register "$($_.Install Location)\App XManifest.xml"}"
Restart your computer.
• Creating a Custom Spotlight Theme
Combine Spotlight with a custom theme to create a truly personalized Windows experience.
Find a high-quality image that you want to use as your desktop background.
Right-click on the image and choose "Set as desktop background."
Go to Settings > Personalization > Themes.
Click "Save theme" and give your theme a name.
Now, whenever you see a Spotlight image you like, you can quickly switch to your custom theme to match the visual style.
• Using Third-Party Tools to Download Spotlight Images
If you want to save the Spotlight images for later use, you can use third-party tools to download them.
Search the Microsoft Store for "Spotlight downloader" or "Lock screen downloader."
Install a reputable app that allows you to download the Spotlight images.
Be sure to check the app’s reviews and permissions before installing it, and only download images for personal use.
These advanced tips and tricks can help you customize Windows 11 Spotlight to your exact preferences, ensuring that you have a visually stunning and productive lock screen experience. Don't be afraid to experiment and explore the various options available to you!
Spotlight FAQs: Your Burning Questions Answered
Let’s address some of the most frequently asked questions about Windows 11 Spotlight.
• Q: Can I use Windows Spotlight on multiple monitors?
A: Yes, Windows Spotlight can be used on multiple monitors. Each monitor will display a different Spotlight image, creating a visually immersive experience. Make sure you have the "Extend" display option selected in your display settings (Windows key + P).
• Q: How often does Windows Spotlight change the images?
A: Windows Spotlight typically changes the images once a day. However, the frequency can vary depending on your settings and internet connection. You can also manually refresh the images by locking and unlocking your computer.
• Q: Does Windows Spotlight use a lot of data?
A: Windows Spotlight does use some data to download new images, but the amount is relatively small. If you're concerned about data usage, you can disable Spotlight when you're on a limited data plan or use a metered connection.
• Q: Can I suggest my own images for Windows Spotlight?
A: Unfortunately, there is no official way to submit your own images for Windows Spotlight. However, you can submit your photos to Bing Wallpaper, which is a similar feature that also displays beautiful images on your desktop.
Hopefully, these FAQs have answered some of your burning questions about Windows 11 Spotlight. If you have any other questions, feel free to ask in the comments below!
So, there you have it! We've journeyed through the vibrant world of Windows 11 Spotlight, uncovering its hidden depths and empowering you to take control of your lock screen experience. We started with the basics, ensuring Spotlight was properly enabled and configured. Then, we moved on to interacting with the images, providing feedback to tailor the experience to your liking, and even incorporating your own photos for a personal touch. We tackled common troubleshooting issues, ensuring a smooth and seamless experience.
But we didn't stop there! We delved into advanced customization options, exploring how to modify the Spotlight cache, disable suggestions, and even create custom themes. We also touched upon productivity enhancements, showing you how to leverage lock screen notifications and quick status apps to stay informed and efficient. And finally, we addressed some frequently asked questions, clearing up any lingering doubts you might have had.
Now, it's time to put your newfound knowledge into action! Take a few minutes to explore the Spotlight settings on your own computer. Experiment with the different options, provide feedback on the images you see, and customize the experience to perfectly match your interests and preferences.
Ready to transform your lock screen from a mundane necessity into a source of inspiration and information? Go ahead, unlock the full potential of Windows 11 Spotlight! And don't forget to share your discoveries with us in the comments below. We'd love to hear how you're using Spotlight to enhance your Windows experience. What are you waiting for? Let’s make our Windows 11 lock screens the envy of all our friends!
Post a Comment for "Windows 11: How to Use the New Windows Spotlight Features"
Post a Comment